 This week, I have been working on marbling Lucy's Tomb. It is pretty big and upright and the challenge is to get it to look nice even though it needs to get done quickly and I can't use any splash techniques. The tomb could not be laid down in any way due to its shape and weight. 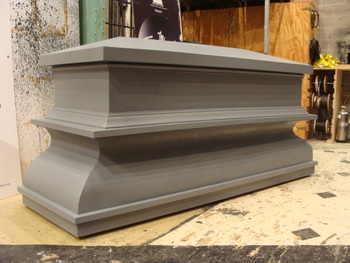 The lid also pivots open and I needed to marble the inside back and top side so when it opens and Lucy comes out, it looks marble the whole way through. The pivoting lid also poses the problem of how and what to paint that edge, since the fit is rather snug and the two pieces will be drug across each other over and over. 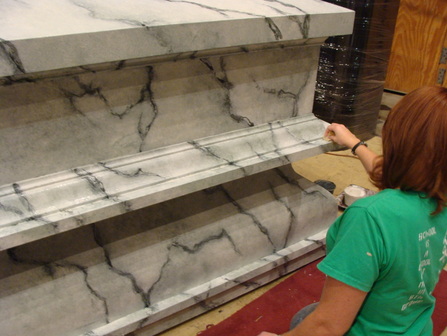 Here I am working on finishing up the molding of the tomb. Claire had suggested using paper to patch the rugged wood of the inside of the tomb, since there were tons of knotholes and the like. And while the inside didn't need to look as fancy as the outside, it needed to look neat, and I wanted to make it as easy as possible on myself since I was under a time constraint, and I wanted to spend as little time cramped inside there as possible. So, I chose to paint the bogus paper first, and then "wallpaper" the inside of the tomb for a one-shot solution. It was a hilarious undertaking. 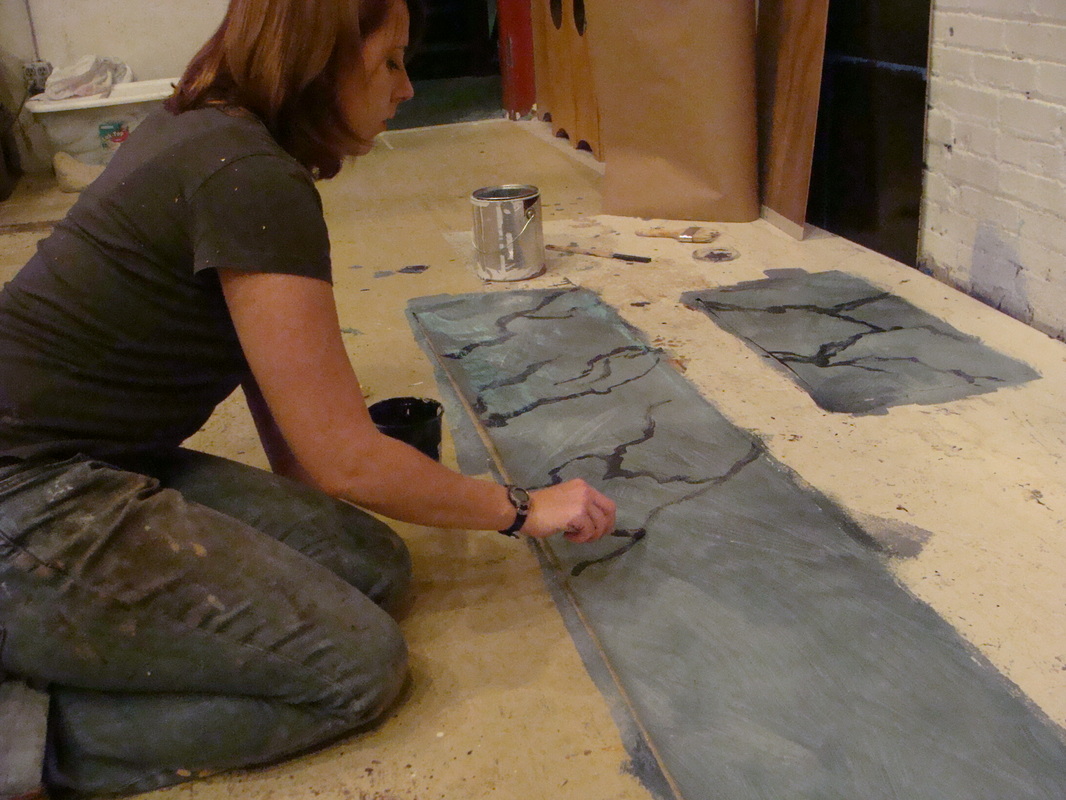 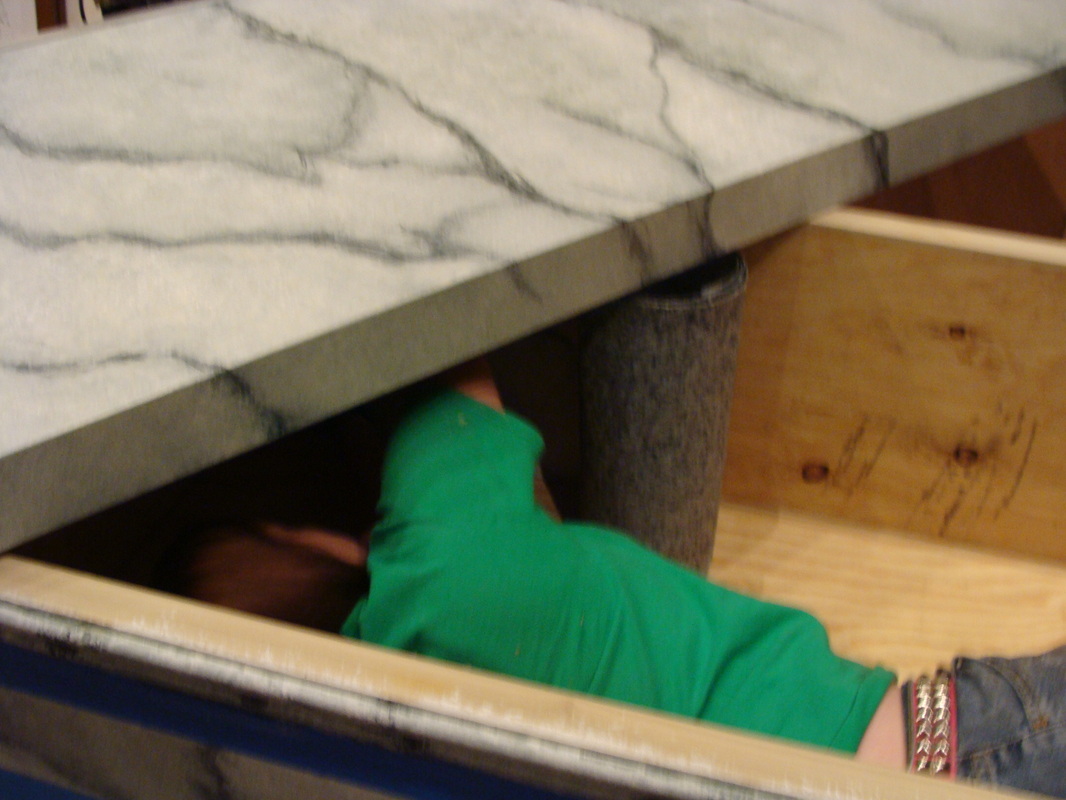 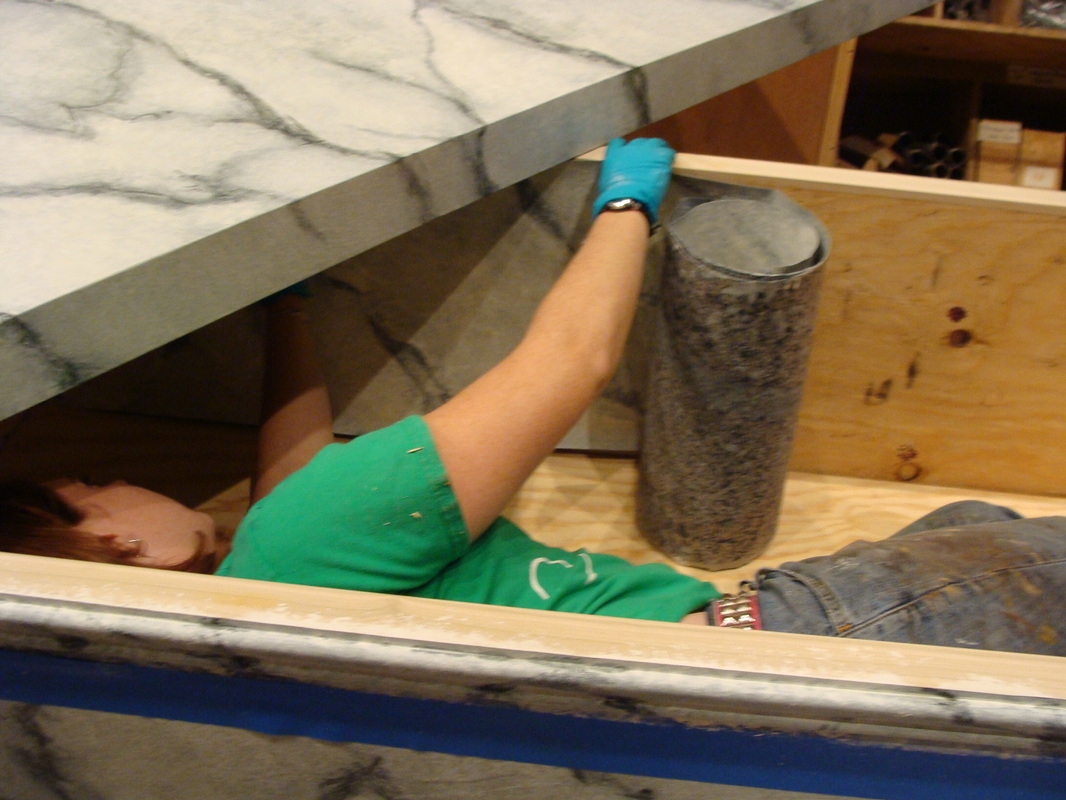 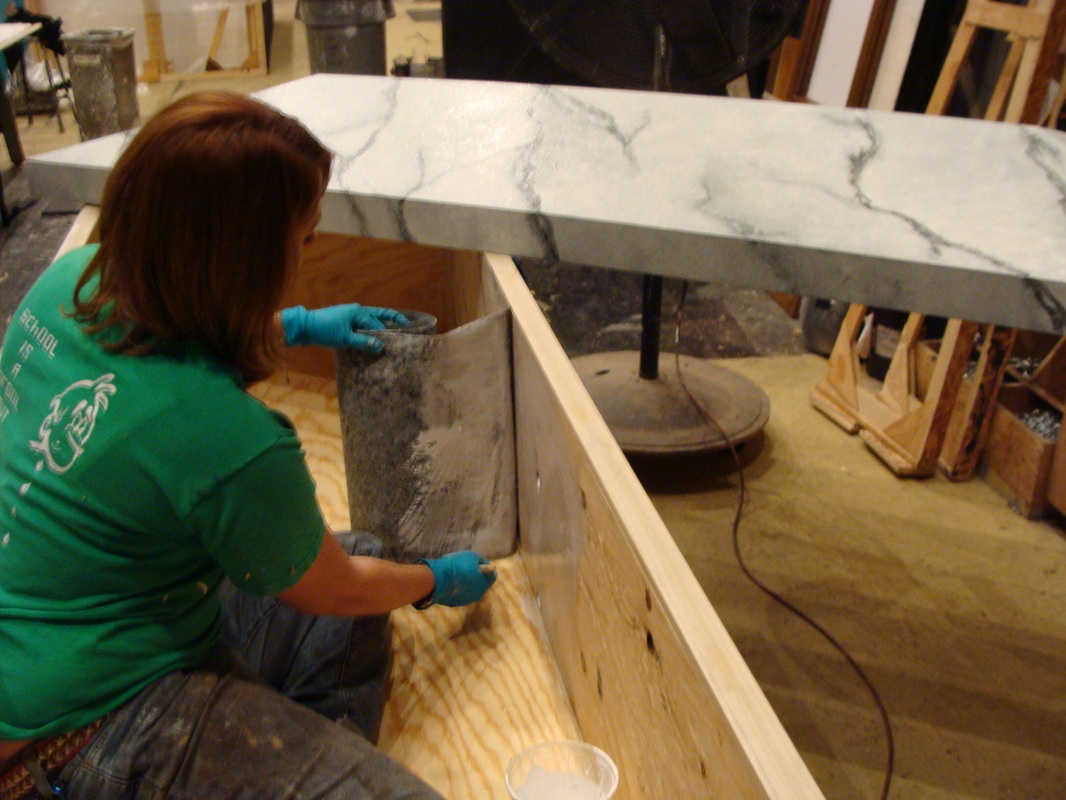 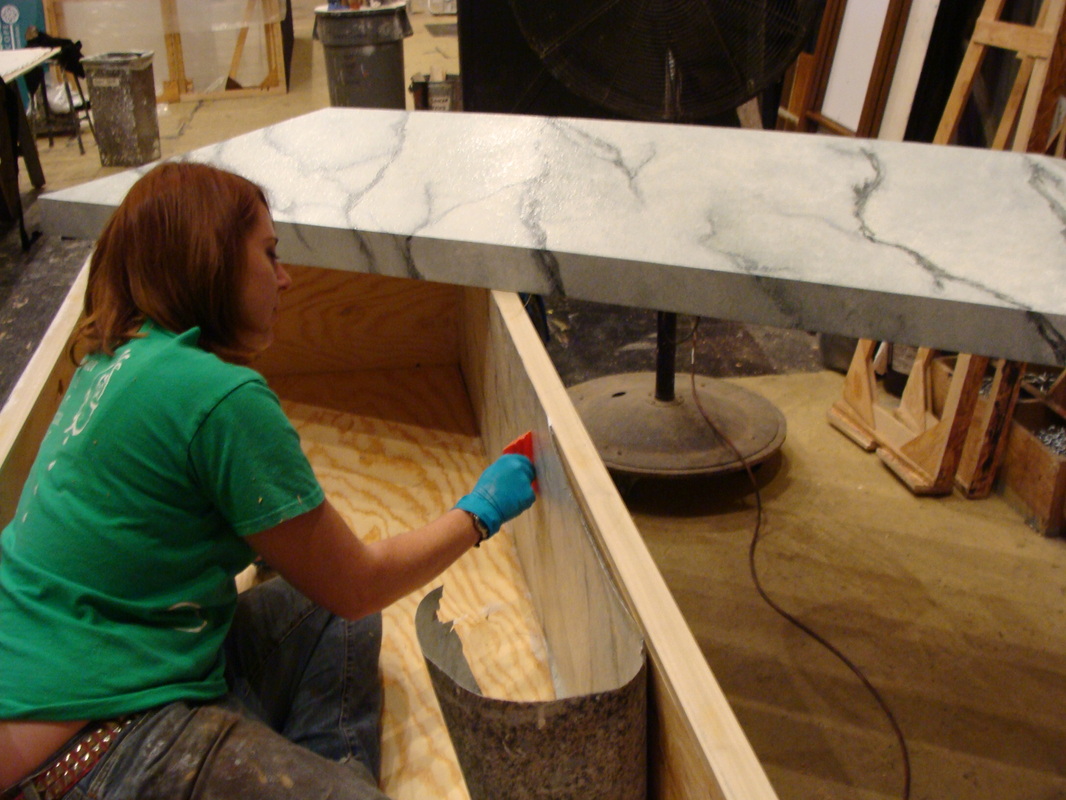 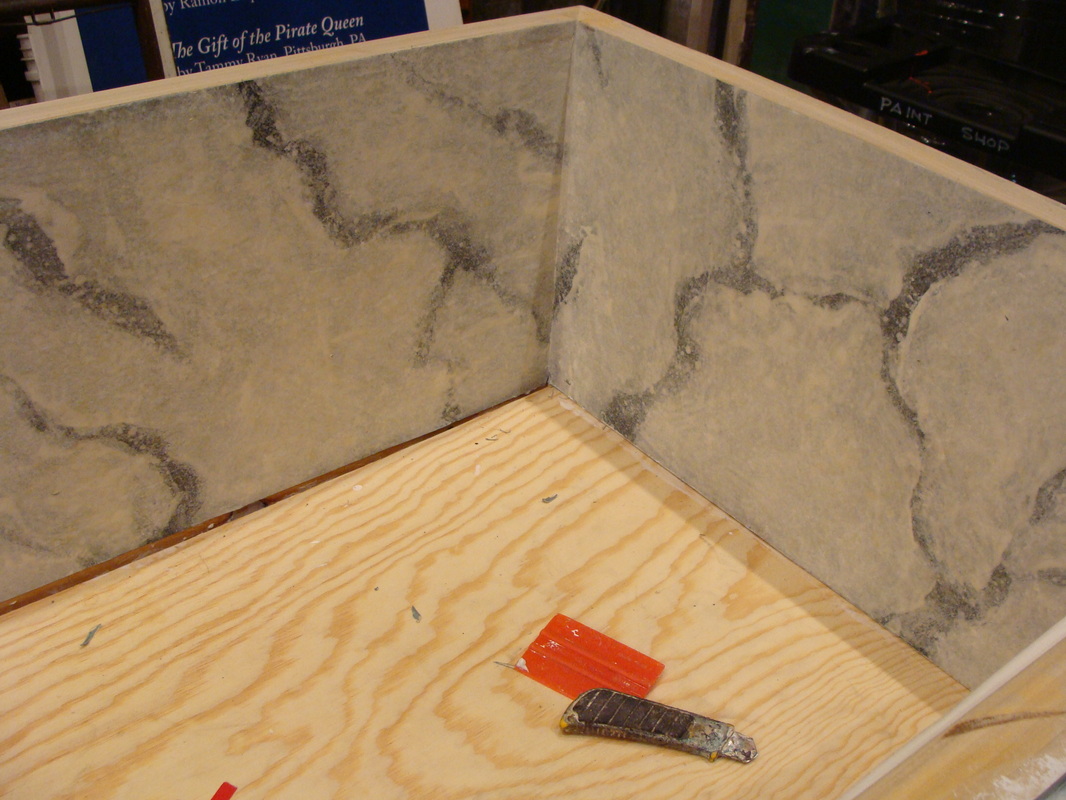 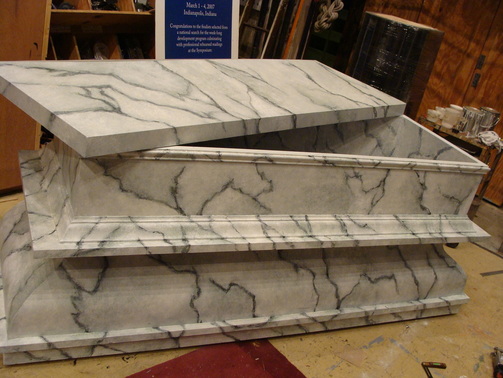 In the end, the paper wrinkled a little, but the seams lined up nicely. And since only a bit of the top of the inside will be seen and only momentarily, and through fabric, dressing, and the actions of an actress, I think it turned out swell! I also finished the marble with a "frittle" - a spatter of 2:1 gloss, flat and gloss again to give the marble that raw "un-polished" look. 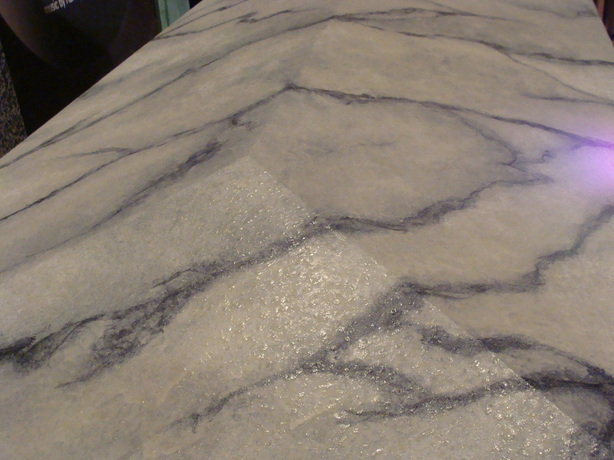 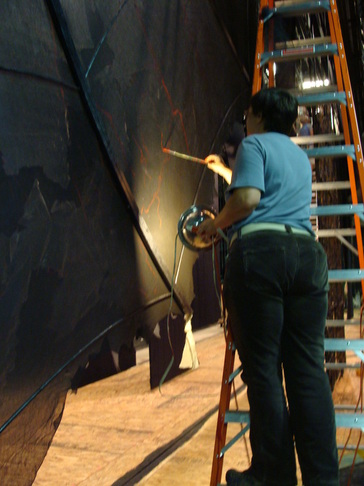 Meanwhile, Claire paints the red veins on the front of the batwings, and adds torn tulle and tattered plastic to create layers. 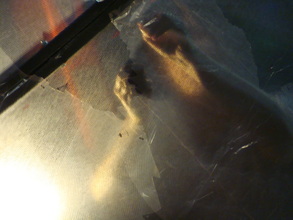 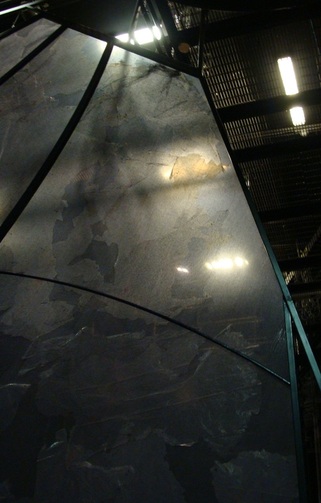 They are really coming togeather! 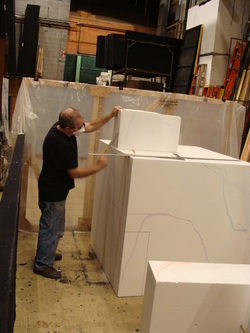 Jim builds a coral and begins to carve the foam rocks that Dracula's coffin will wash up on. 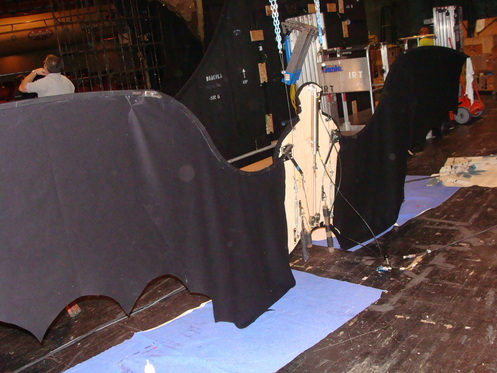 Jim and I have also been working on finishing up the bat puppet. Jim has cut out the pattern and hung it, while I have been working the kinks in some of the finer details. 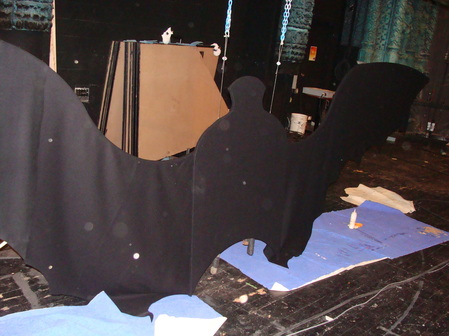 With the use of some elastic, magnets and weights, I think this little guy will take flight beautifully. 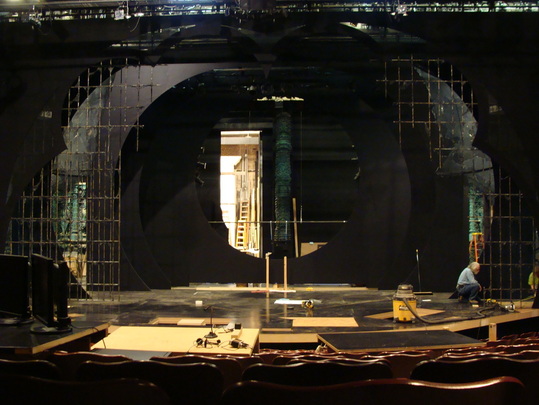 And load-in continues!
0 Comments
 This week, I have moved on to woodgraining Lucy's bedroom window unit. It is a trick window from which Dracula will appear when Lucy least expects it. Here is the window unit primed. 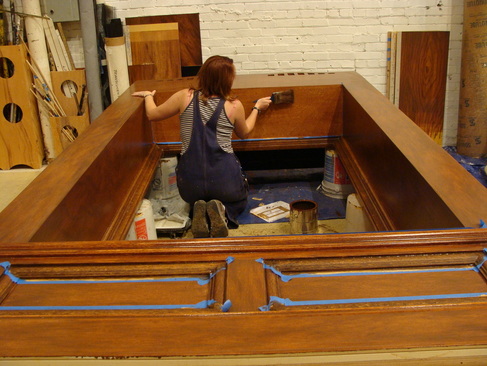 Process shot. This wood required check rollering and lots and lots of flogging!  The finished shot! 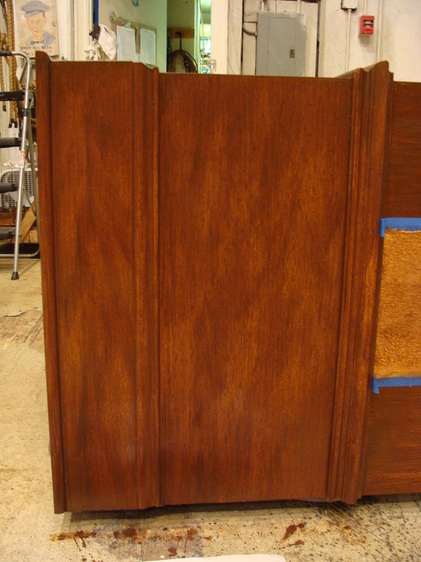 A detail shot: 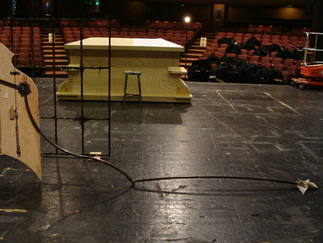 During dry time, I have also been working on the pattern for the puppet wings. Here, you can see how the wing armature will bend backwards when the puppet is in the down position, hidden behind the groundrow. 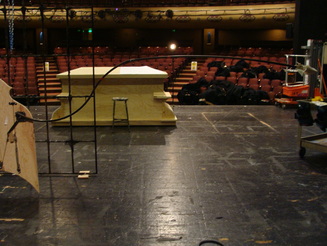 And here is how the armature will be while when the wings are extended. You can see the problem; We must make a pattern in two pieces that can separate allowing the wing to bend backwards while falling into place when extended and laying flat so it looks like one piece. 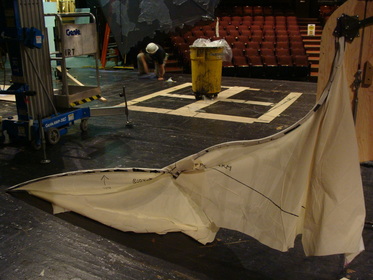 Here is the result: By using stealthily placed elastic and some excess allowed in the fold over the upper curve, the pieces come apart and lay flat easily. 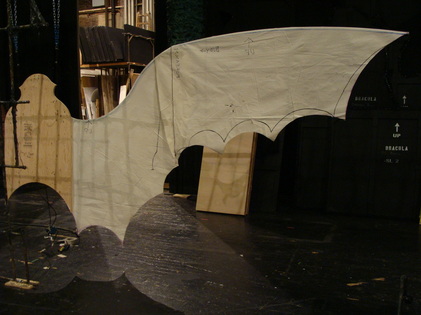 When extended, the extra material falls into place over the curve, and the bottom of the two pieces of material come together at the point and connect via a weak magnet that i have attached to the fabric. The magnet is weak enough to pull apart easily as the wings deflate, but just strong enough to attract the two magnets and two pieces of fabric together as the armature extends. 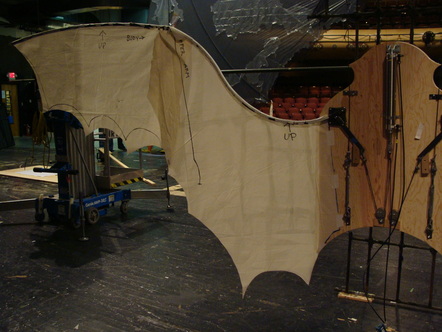 Rear view of the wing: You can see the overlap and the fold that allows for free movement of the fabric as it moves. 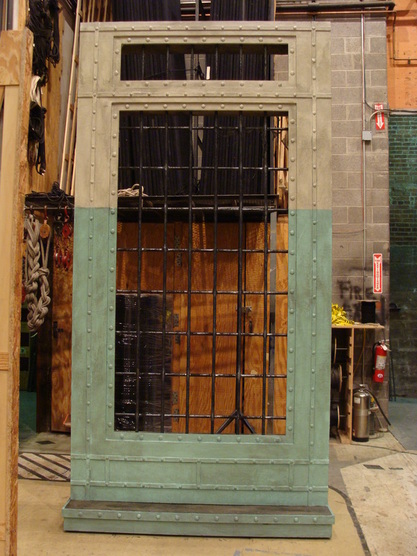 Meanwhile, Jim and Claire have repainted the asylum guest room. 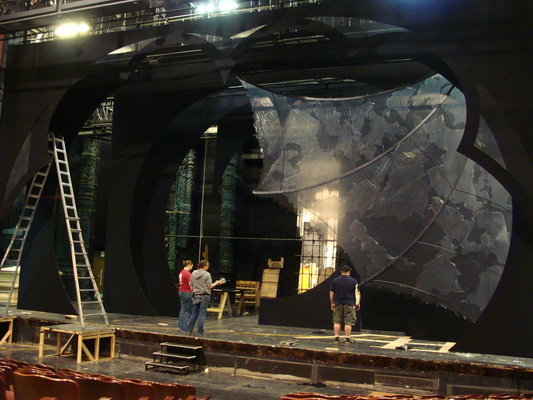 And load-in begins! This has been an exciting week at the IRT. I have been working on finishing the fine wood finish of the Victorian furniture- the headboard and the table. Meanwhile, Jim and Lee have been working on aging the "Betty Bars" and Claire has been finishing the asylum guest room. 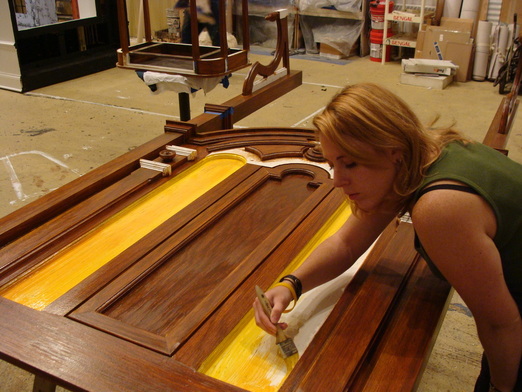 Here I am working on the panels of the headboard. 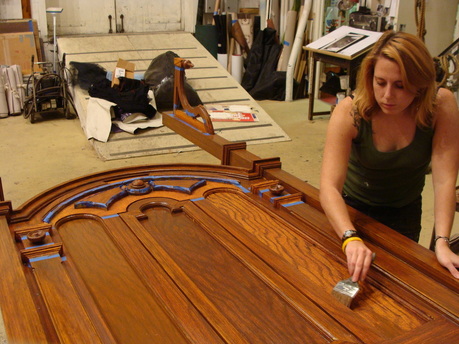 Finishing up. And the results: 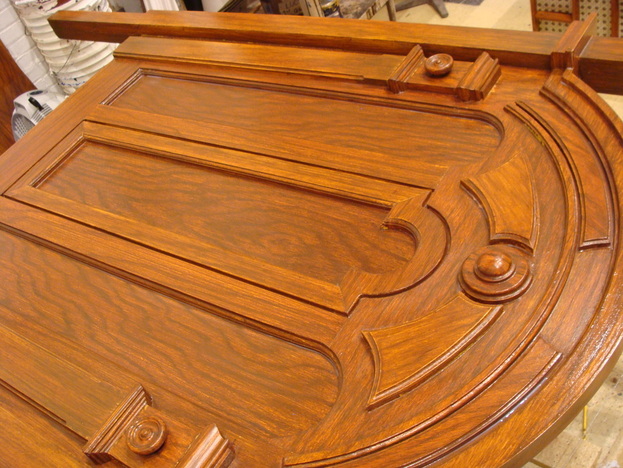 Here also is the table: 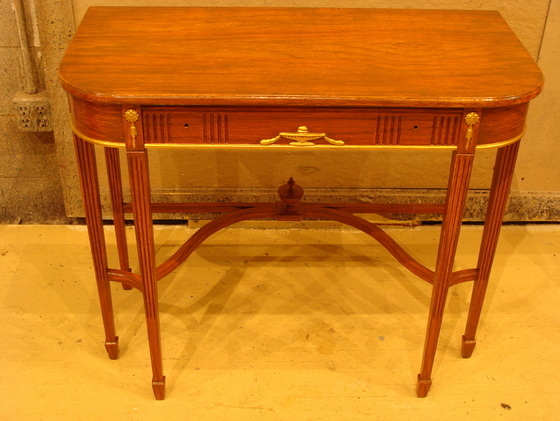 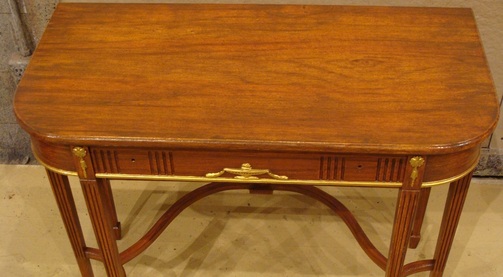 Detail shot of the table top. 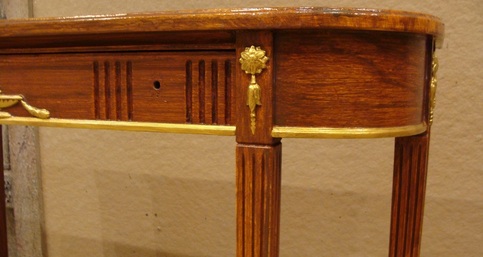 Here is a detail shot of the side grain of the table. 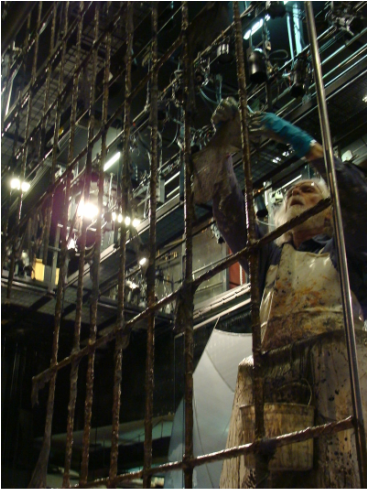 Meanwhile, Jim and Lee finish up the "Betty Bars" by adding glued scrim to look like built up grime. 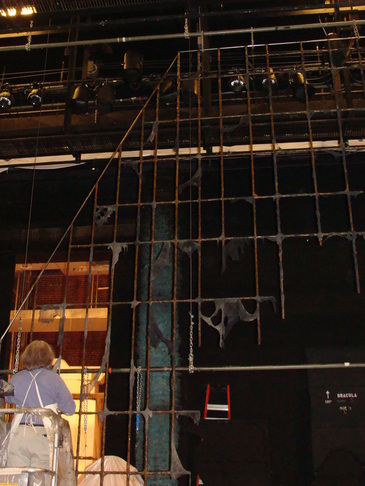 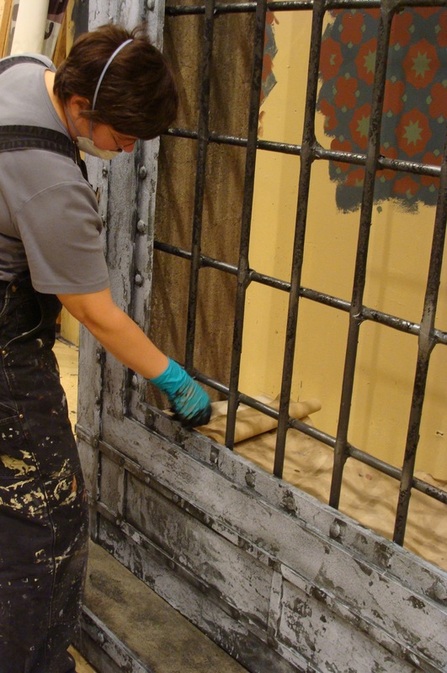 Here, Claire finishes up aging on the asylum guest room window. 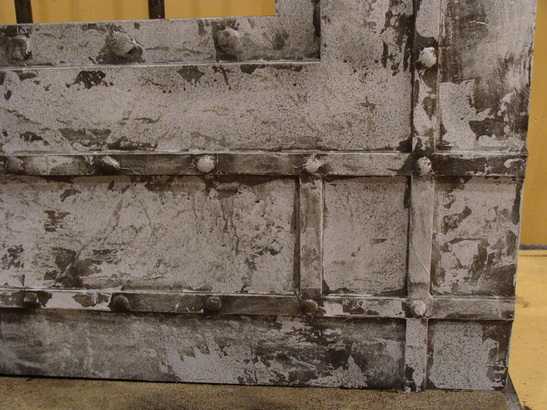 This week, we have been tackling the first stages of the epic batwings, as well as a dracula puppet. I have also been working on some wood samples for Lucy's bedroom furniture. This should be a lot of fun! The stage-sized bat wings will slide in from the "wings" (ha ha.) and will be lit differently from the front and behind. They are constructed from steel ribs and are webbed with layers of tattered black scrim plastic, bobbinet and other materials to make them look simultaneously old and tattered as well as spooky and forboding. But as we know in "the business", that only sounds easy. 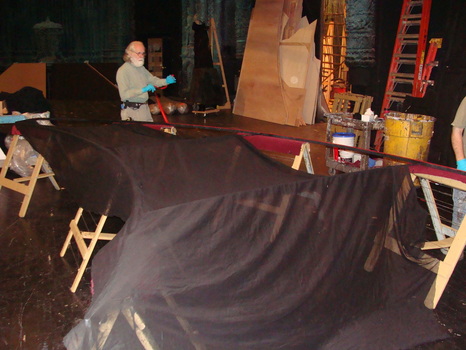 Here, Claire and the guys (Jim and Lee) stretch black scrim over the prepared metal ribs of each section on the batwings.  They used very high-stick (and very expensive) tape to adhere the scrim to the metal. 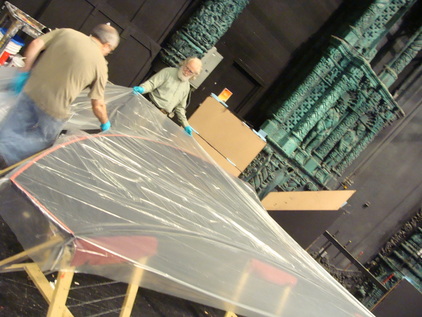 After the scrim had been perfectly stretched, it was time for the plastic. 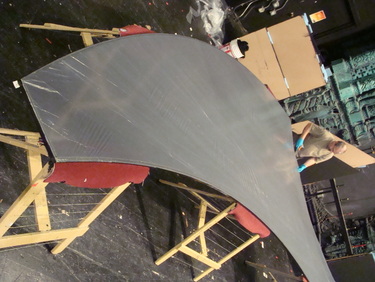 This is a view of one section (of three) of the batwing from behind. The plastic will create the desired effect when lit- a bit shiny, a bit opaque, but still translucent. Below is a view of the bat wings put together and hung and awaiting their next steps. Those will happen in the weeks to come. 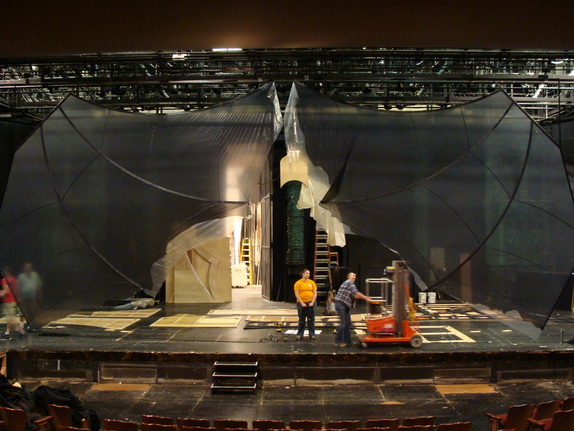 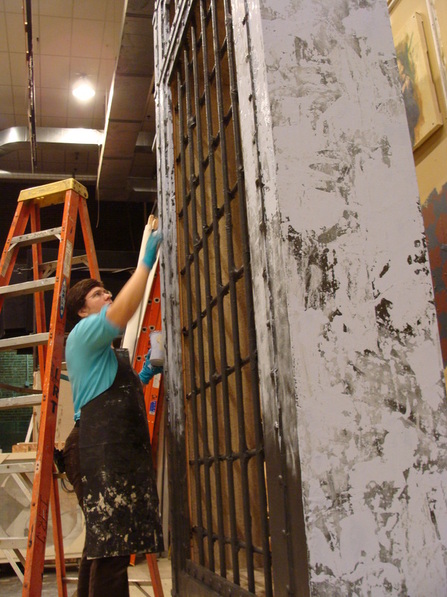 Claire has also been working on the paint-chippy step of the asylum guest room. 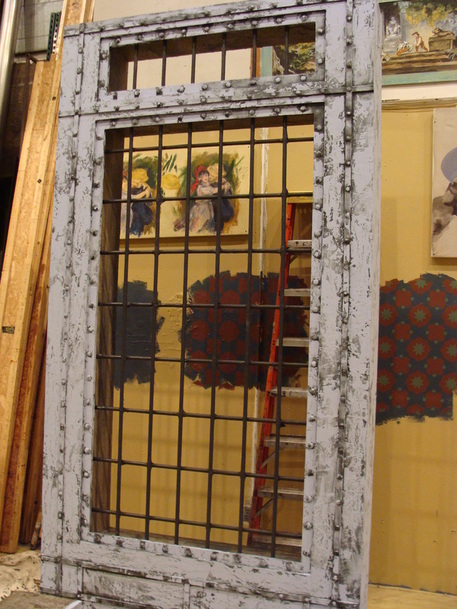 Looks great! 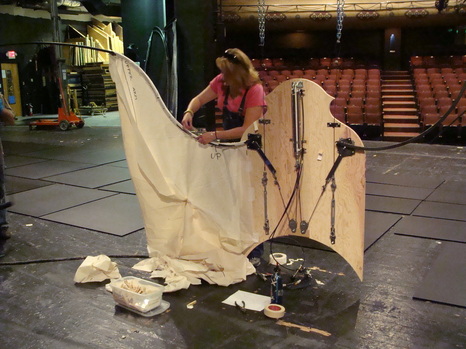 This week, I have also been working on making a pattern for the wings of the Dracula puppet.
The wings are going to unfold, but will need to store bend backwards on the floor. So, I have to com up with a way for the fabric to look natural when unfurled, but be able to come apart for storage. It's a really cool contraption, and our part in it is going to take much more work experimenting and planning before it is ready to go. I won't give too much away, but suffice it to say that if you are in the Indianapolis area, you don't want to miss this show. And if you're not in the Indianapolis area, you're missing out! 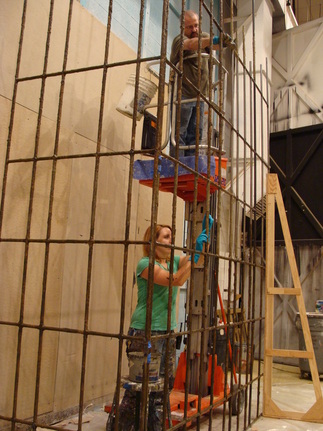 After a brief vacation, I am back in Indiana and we are all ready to tackle Dracula. In the past few weeks, we have been working on grim-i-fy-ing the bars for Renfield's asylum cell. The bars (which we have lovingly christened the "Betty Bars" as they were welded by our Master Carpenter, Betty) are supposed to look disgusting, and utterly dripping with filth. To accomplish this, we first mixed a raw-umber flex glue and used it to sort-of paper mache the bars by globbing and wrinkling it in places, making the bars look built-up with corrosion and slimy. 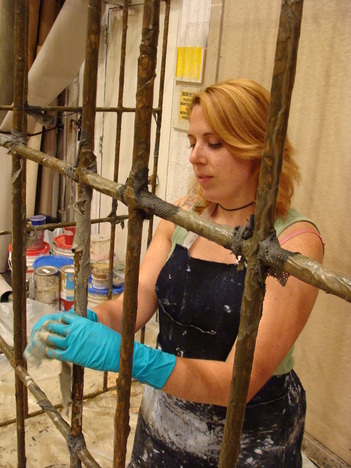 Next, we mixed a secondary glue, quite thinner, and dipped randomly ripped up pieces of old black scrim to make a different texture. Something even more drippy and disgusting. Below is a detail shot of the front of Renfield's Cell. 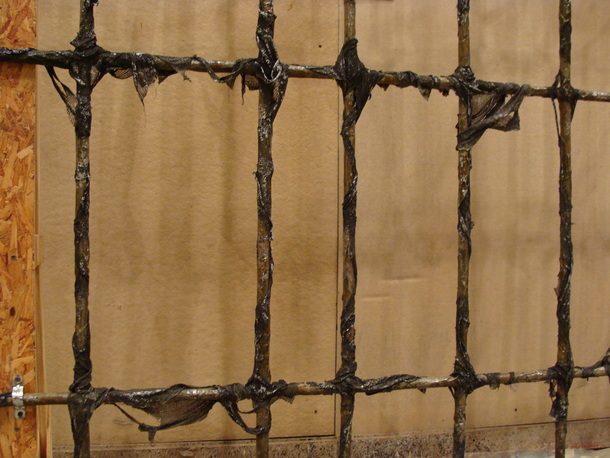 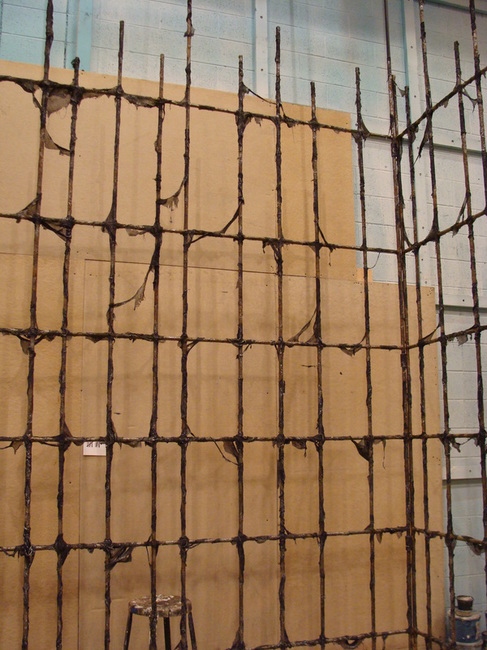 And to the left is the full Renfield cage cell in the shop. 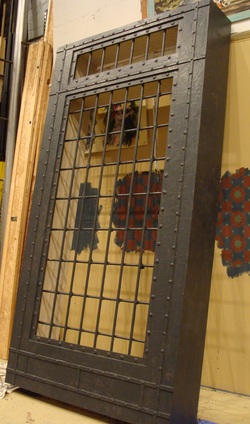 We have also been working on the first steps of the "asylum guest room window." Yes. The insane asylum has a guest room. Who knew? Anyway, the guest room window is somewhat old metal, many old chipping layers of paint. Corroded and old, but cleaned up as best as the housekeeping staff of the asylum can for "guests." For the first step, the corroded metallic texture, we used torn up craft paper and a paint and glue mixture similar to the Renfield cage to paper mache the entire surface and give it a little character. 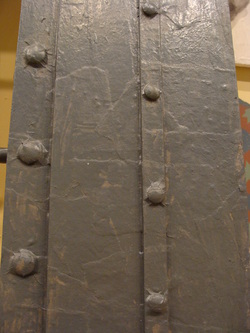 Left is a Detail Shot of the initial treatment for the asylum guest room. Check out those rivets! So cool! Check back for updates on the next steps. I'll post the final shots as we finish. This show has lots of tricks up its sleeves, and has a great look to it. I can't wait to see it all put together and under lights. One great element is going to be huge bat wings that come in from the wings. They have a steel frame and are webbed with all kinds of plastic and fabric including bobbinet and scrim. They will be translucent white when lit from behind, and a darker red when lit from the front. The textures will also change with the position of the lights, due to the layering of different textures of fabrics.
| ArchivesOctober 2013 
Leave a Comment!
I'd love to hear from you. |
| Cassandra Phillips |
|
 RSS Feed